SpringBoot整合SpringSecurity
- SpringBoot
SpringSecurity环境搭建
1、新建SpringBoot项目SpringSecurity-first-study,选中Spring Security选项

pom文件会自动引入依赖包:
<dependency>
    <groupId>org.springframework.boot</groupId>
    <artifactId>spring-boot-starter-security</artifactId>
</dependency>
<dependency>
    <groupId>org.springframework.security</groupId>
    <artifactId>spring-security-test</artifactId>
    <scope>test</scope>
</dependency>
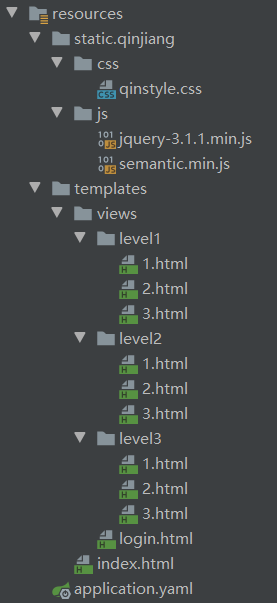
2、导入静态资源文件,路径如下:
3、编写Controller类RouterController,测试代码
@Controller
public class RouterController {

    @RequestMapping({"/","/index"})
    public String index(){
        return "index";
    }

    @RequestMapping("/level1/{id}")
    public String level1(@PathVariable("id") int id){
        return "views/level1/"+id;
    }

    @RequestMapping("/level2/{id}")
    public String level2(@PathVariable("id") int id){
        return "views/level2/"+id;
    }

    @RequestMapping("/level3/{id}")
    public String level3(@PathVariable("id") int id){
        return "views/level3/"+id;
    }
}
4、测试结果:
测试发现SpringBoot项目启动成功,访问任意URL路径都会跳转到一个登录页面:

SpringBoot项目中使用了SpringSecurity,默认的SpringSecurity便生效了,此时的接口都是被保护的,我们需要通过验证通过才能正常的访问。SpringSecurity提供了一个默认的用户,用户名是user,而密码则是启动项目的时候自动生成的

如果不需要验证访问,可以在项目中添加一个配置类,配置不需要登录验证功能,代码如下:
@Configuration
@EnableWebSecurity
public class CloseSecurityConfig extends WebSecurityConfigurerAdapter {
    @Override
    protected void configure(HttpSecurity http) throws Exception {
        http.csrf().disable();
        //配置不需要登陆验证
        http.authorizeRequests().anyRequest().permitAll().and().logout().permitAll();
    }
}
最终测试成功: 
初识SpringSecurity
SpringSecurity是针对Spring项目的安全框架,也是SpringBoot底层安全模块默认的技术选型,他可以实现强大的Web安全控制,对于安全控制,我们仅需要引入spring-boot-starter-security模块,进行少量的配置,即可实现强大的安全管理功能。
SpringSecurity中几个重要的类:
WebSecurityConfigurerAdapter:自定义Security安全策略AuthenticationManagerBuilder:自定义认证策略@EnableWebSecurity:开启WebSecurity模式类
WebSecurityConfigurerAdapter中重要的方法:protected void configure(HttpSecurity http) throws Exception { http.authorizeRequests().antMatchers("/**").hasRole("USER").and().formLogin() .usernameParameter("username") // default is username .passwordParameter("password") // default is password .loginPage("/authentication/login") // default is /login with an HTTP get .failureUrl("/authentication/login?failed") // default is /login?error .loginProcessingUrl("/authentication/login/process"); // default is /login // with an HTTP // post }
SpringSecurity的两个主要目标是 “认证” 和 “授权”(访问控制)
“认证”(
Authentication)身份验证是关于验证身份的凭据,如用户名、用户
ID和密码,以验证身份权限,身份验证通常通过用户名和密码完成,有时与身份验证因素结合使用“授权” (
Authorization)授权发生在系统成功验证用户的身份后,最终会授予用户访问资源(如信息,文件,数据库,资金,位置,几乎任何内容)的完全权限
认证和授权
如果不同的用户登录可以访问不同的Level下的标签,如下图所示:

可以为每一个Level设置一个权限,并对每一个权限下绑定不同的用户,此时需要使用SpringSecurity中的认证和授权功能。
使用SpringSecurity环境搭建的项目进行认证和授权功能的实现,实现流程如下:
引入
SpringSecurity模块<dependency> <groupId>org.springframework.boot</groupId> <artifactId>spring-boot-starter-security</artifactId> </dependency>编写
SpringSecurity基础配置类参考官网:https://spring.io/projects/spring-security
import org.springframework.security.config.annotation.web.builders.HttpSecurity;
import org.springframework.security.config.annotation.web.configuration.EnableWebSecurity;
import org.springframework.security.config.annotation.web.configuration.WebSecurityConfigurerAdapter;

@EnableWebSecurity // 开启 WebSecurity 模式
public class SecurityConfig extends WebSecurityConfigurerAdapter {
    @Override
    protected void configure(HttpSecurity http) throws Exception {

    }
}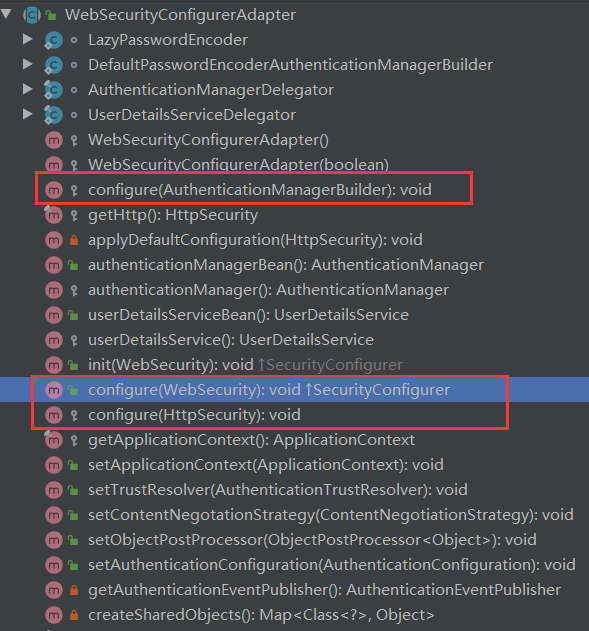
此时需要将
CloseSecurityConfig类中不需要登陆验证的代码也放在上述代码的configure()方法中,否则测试会报错在
configure()方法中定制请求的授权规则@Override protected void configure(HttpSecurity http) throws Exception { http.csrf().disable(); //配置不需要登陆验证 http.authorizeRequests().anyRequest().permitAll().and().logout().permitAll(); http.authorizeHttpRequests().antMatchers("/").permitAll() // 首页所有人可以访问 .antMatchers("/level1/**").hasRole("vip1") // 拥有 vip1 权限的角色可以访问 level1 下的页面 .antMatchers("/level2/**").hasRole("vip2") // 拥有 vip2 权限的角色可以访问 level2 下的页面 .antMatchers("/level3/**").hasRole("vip3");// 拥有 vip3 权限的角色可以访问 level3 下的页面 }测试
进入首页点击
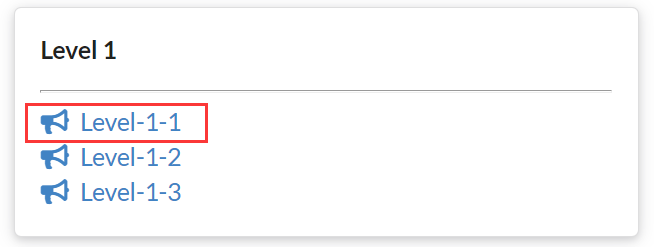
Level-1-1等标签会发现出现以下403错误
以上原因是因为我们没有设置登录的角色,请求执行时需要登录的角色拥有对应的权限才可以,例如角色
root想访问level1页面下的资源文件,必须要拥有对应的访问权限vip1在
configure()方法中加入以下配置,开启自动配置的登录功能// 开启自动配置的登录功能 // /login 请求来到登录页 // /login?error 重定向到这里表示登录失败 http.formLogin();再次测试,发现没有权限的时候,会跳转到登录的页面
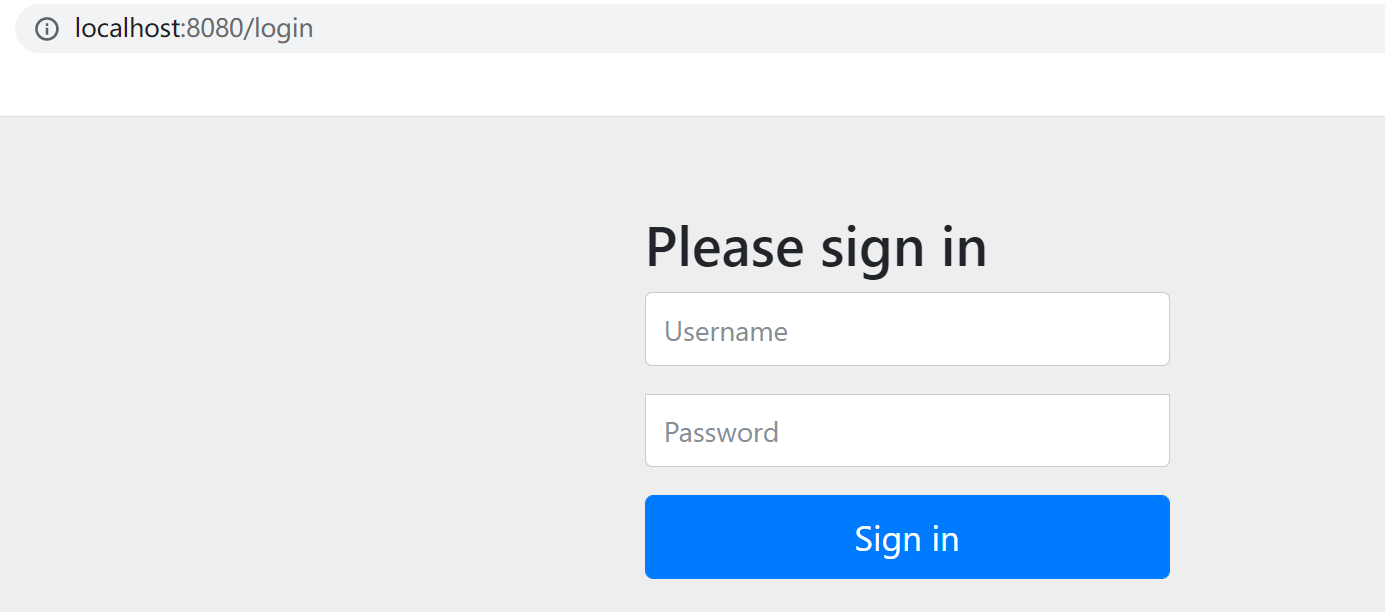
跳转到登录页面之后,可以定义认证规则,重写
configure(AuthenticationManagerBuilder auth)方法//定义认证规则 @Override protected void configure(AuthenticationManagerBuilder auth) throws Exception { auth.inMemoryAuthentication() .withUser("wyj").password("123456").roles("vip2","vip3")//用户 wyj 具有权限 vip2 和 vip3 .and() .withUser("root").password("123456").roles("vip1","vip2","vip3") .and() .withUser("guest").password("123456").roles("vip1","vip2"); }再次测试,输入设置的
Username和对应Password之后,发现会报错

原因在于
SpringSecurity要求要将前端传过来的密码进行某种方式加密,否则就无法登录,修改认证规则代码//定义认证规则 @Override protected void configure(AuthenticationManagerBuilder auth) throws Exception { //Spring security 5.0中新增了多种加密方式,也改变了密码的格式。 //要想我们的项目还能够正常登陆,需要修改一下configure中的代码。我们要将前端传过来的密码进行某种方式加密 //spring security 官方推荐的是使用bcrypt加密方式。 auth.inMemoryAuthentication().passwordEncoder(new BCryptPasswordEncoder()) .withUser("wyj").password(new BCryptPasswordEncoder().encode("123456")).roles("vip2","vip3") .and() .withUser("root").password(new BCryptPasswordEncoder().encode("123456")).roles("vip1","vip2","vip3") .and() .withUser("guest").password(new BCryptPasswordEncoder().encode("123456")).roles("vip1","vip2"); }再次测试,发现登录成功,并且每个角色只能访问自己认证下的规则
自动注销
可以为首页添加一个注销功能,步骤如下:
在
configure(HttpSecurity http)方法中开启自动配置的注销的功能//定制请求的授权规则 @Override protected void configure(HttpSecurity http) throws Exception { //.... //开启自动配置的注销的功能 // 开启自动配置的注销的功能 /logout 为注销请求 http.logout(); }在前端
index.html导航栏中,增加一个注销的按钮,注意注销请求的URL是/logout<a class="item" th:href="@{/logout}"> <i class="address card icon"></i> 注销 </a>点击
Level-2-1进入Level2界面之后,在Level2界面点击注销直接退到登录界面,如果要跳转到首页,需要在configure(HttpSecurity http)方法中修改http.logout()方法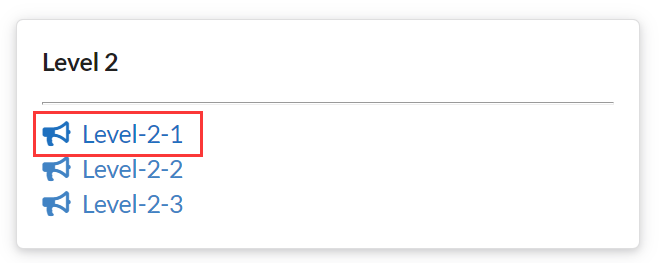

//定制请求的授权规则
@Override
protected void configure(HttpSecurity http) throws Exception {
    //....

    //开启自动配置的注销的功能
    // 开启自动配置的注销的功能 /logout 为注销请求
    //http.logout();

    // .logoutSuccessUrl("/"); 注销成功来到首页
    http.logout().logoutSuccessUrl("/");
}
之后,在点击注销按钮时,会退出到首页

权限控制:整合Thymeleaf
如果用户guest只可以访问Level1和Level2,不希望用户guest登录之后看到Level3,并且用户登录之后隐藏登录按钮,用户注销之后隐藏注销按钮,如下所示

以上需求需要结合thymeleaf中的功能,流程如下:
引入
Maven依赖<dependency> <groupId>org.thymeleaf.extras</groupId> <artifactId>thymeleaf-extras-springsecurity5</artifactId> </dependency>首页
index.html导入命名空间xmlns:sec="http://www.thymeleaf.org/thymeleaf-extras-springsecurity5首页
index.html修改导航栏,增加认证判断,进行测试<!--登录注销--> <div class="right menu"> <!--未登录, 显示登录按钮--> <div sec:authorize="!isAuthenticated()"> <a class="item" th:href="@{/login}"> <i class="address card icon"></i> 登录 </a> </div> <!--已登录, 界面显示登陆的用户名--> <div sec:authorize="isAuthenticated()"> <a class="item"> <i class="address card icon"></i> <!--用户名:--><span sec:authentication="principal.username"></span> <!--角色:<span sec:authentication="principal.authorities"></span>--> </a> </div> <!--已登录, 显示注销按钮--> <div sec:authorize="isAuthenticated()"> <a class="item" th:href="@{/logout}"> <i class="address card icon"></i> 注销 </a> </div> </div>之后使用
URL访问http://localhost:8080/login登录请求,登录用户名为guest,登录成功后发现登录按钮消失,并显示出了登录的用户名,页面如下:
点击注销,会显示如下界面:

点击
Log Out退出之后,显示首页,注销按钮消失
如果点击注销按钮,出现
404页面,是因为它默认防止csrf跨站请求伪造,因为会产生安全问题,可以将请求改为post表单提交,或者在SpringSecurity中关闭csrf功能,在configure(HttpSecurity http)方法中添加以下代码:// 关闭 csrf 功能: 跨站请求伪造, 默认只能通过 post 方式提交 logout 请求 http.csrf().disable();继续修改
index.html内容,完善角色功能块权限控制,进行测试<div class="column" > <div class="ui raised segment"> <!-- sec:authorize="hasRole('vip1')" --> <div class="ui" sec:authorize="hasRole('vip1')"> <div class="content"> <h5 class="content">Level 1</h5> <hr> <div><a th:href="@{/level1/1}"><i class="bullhorn icon"></i> Level-1-1</a></div> <div><a th:href="@{/level1/2}"><i class="bullhorn icon"></i> Level-1-2</a></div> <div><a th:href="@{/level1/3}"><i class="bullhorn icon"></i> Level-1-3</a></div> </div> </div> </div> </div> <div class="column"> <div class="ui raised segment"> <div class="ui" sec:authorize="hasRole('vip2')"> <div class="content" > <h5 class="content">Level 2</h5> <hr> <div><a th:href="@{/level2/1}"><i class="bullhorn icon"></i> Level-2-1</a></div> <div><a th:href="@{/level2/2}"><i class="bullhorn icon"></i> Level-2-2</a></div> <div><a th:href="@{/level2/3}"><i class="bullhorn icon"></i> Level-2-3</a></div> </div> </div> </div> </div> <div class="column"> <div class="ui raised segment"> <div class="ui" sec:authorize="hasRole('vip3')"> <div class="content"> <h5 class="content">Level 3</h5> <hr> <div><a th:href="@{/level3/1}"><i class="bullhorn icon"></i> Level-3-1</a></div> <div><a th:href="@{/level3/2}"><i class="bullhorn icon"></i> Level-3-2</a></div> <div><a th:href="@{/level3/3}"><i class="bullhorn icon"></i> Level-3-3</a></div> </div> </div> </div> </div>使用
sec:authorize="hasRole('vip1')"来控制界面需要显示内容进行测试,使用
guest登录,发现只显示Level1和Level2
记住我
如果要实现登录时记住密码的功能,登录之后,关闭浏览器,再次登录不需要输入用户名密码便可以直接登录成功,需要开启记住我功能。
**原理:**登录成功后,将cookie发送给浏览器保存,再次登录会带上该cookie信息,通过检查便可以免登录了;如果点击注销,则会删除该cookie信息
//定制请求的授权规则
@Override
protected void configure(HttpSecurity http) throws Exception {
    // ...
    //记住我
    http.rememberMe();
}
选中Remember me on this computer,启动项目测试,发现登录界面出现以下内容:

登录成功之后,浏览器保存了Cookies信息(记住我功能的实现原理:保存登录Cookie信息):
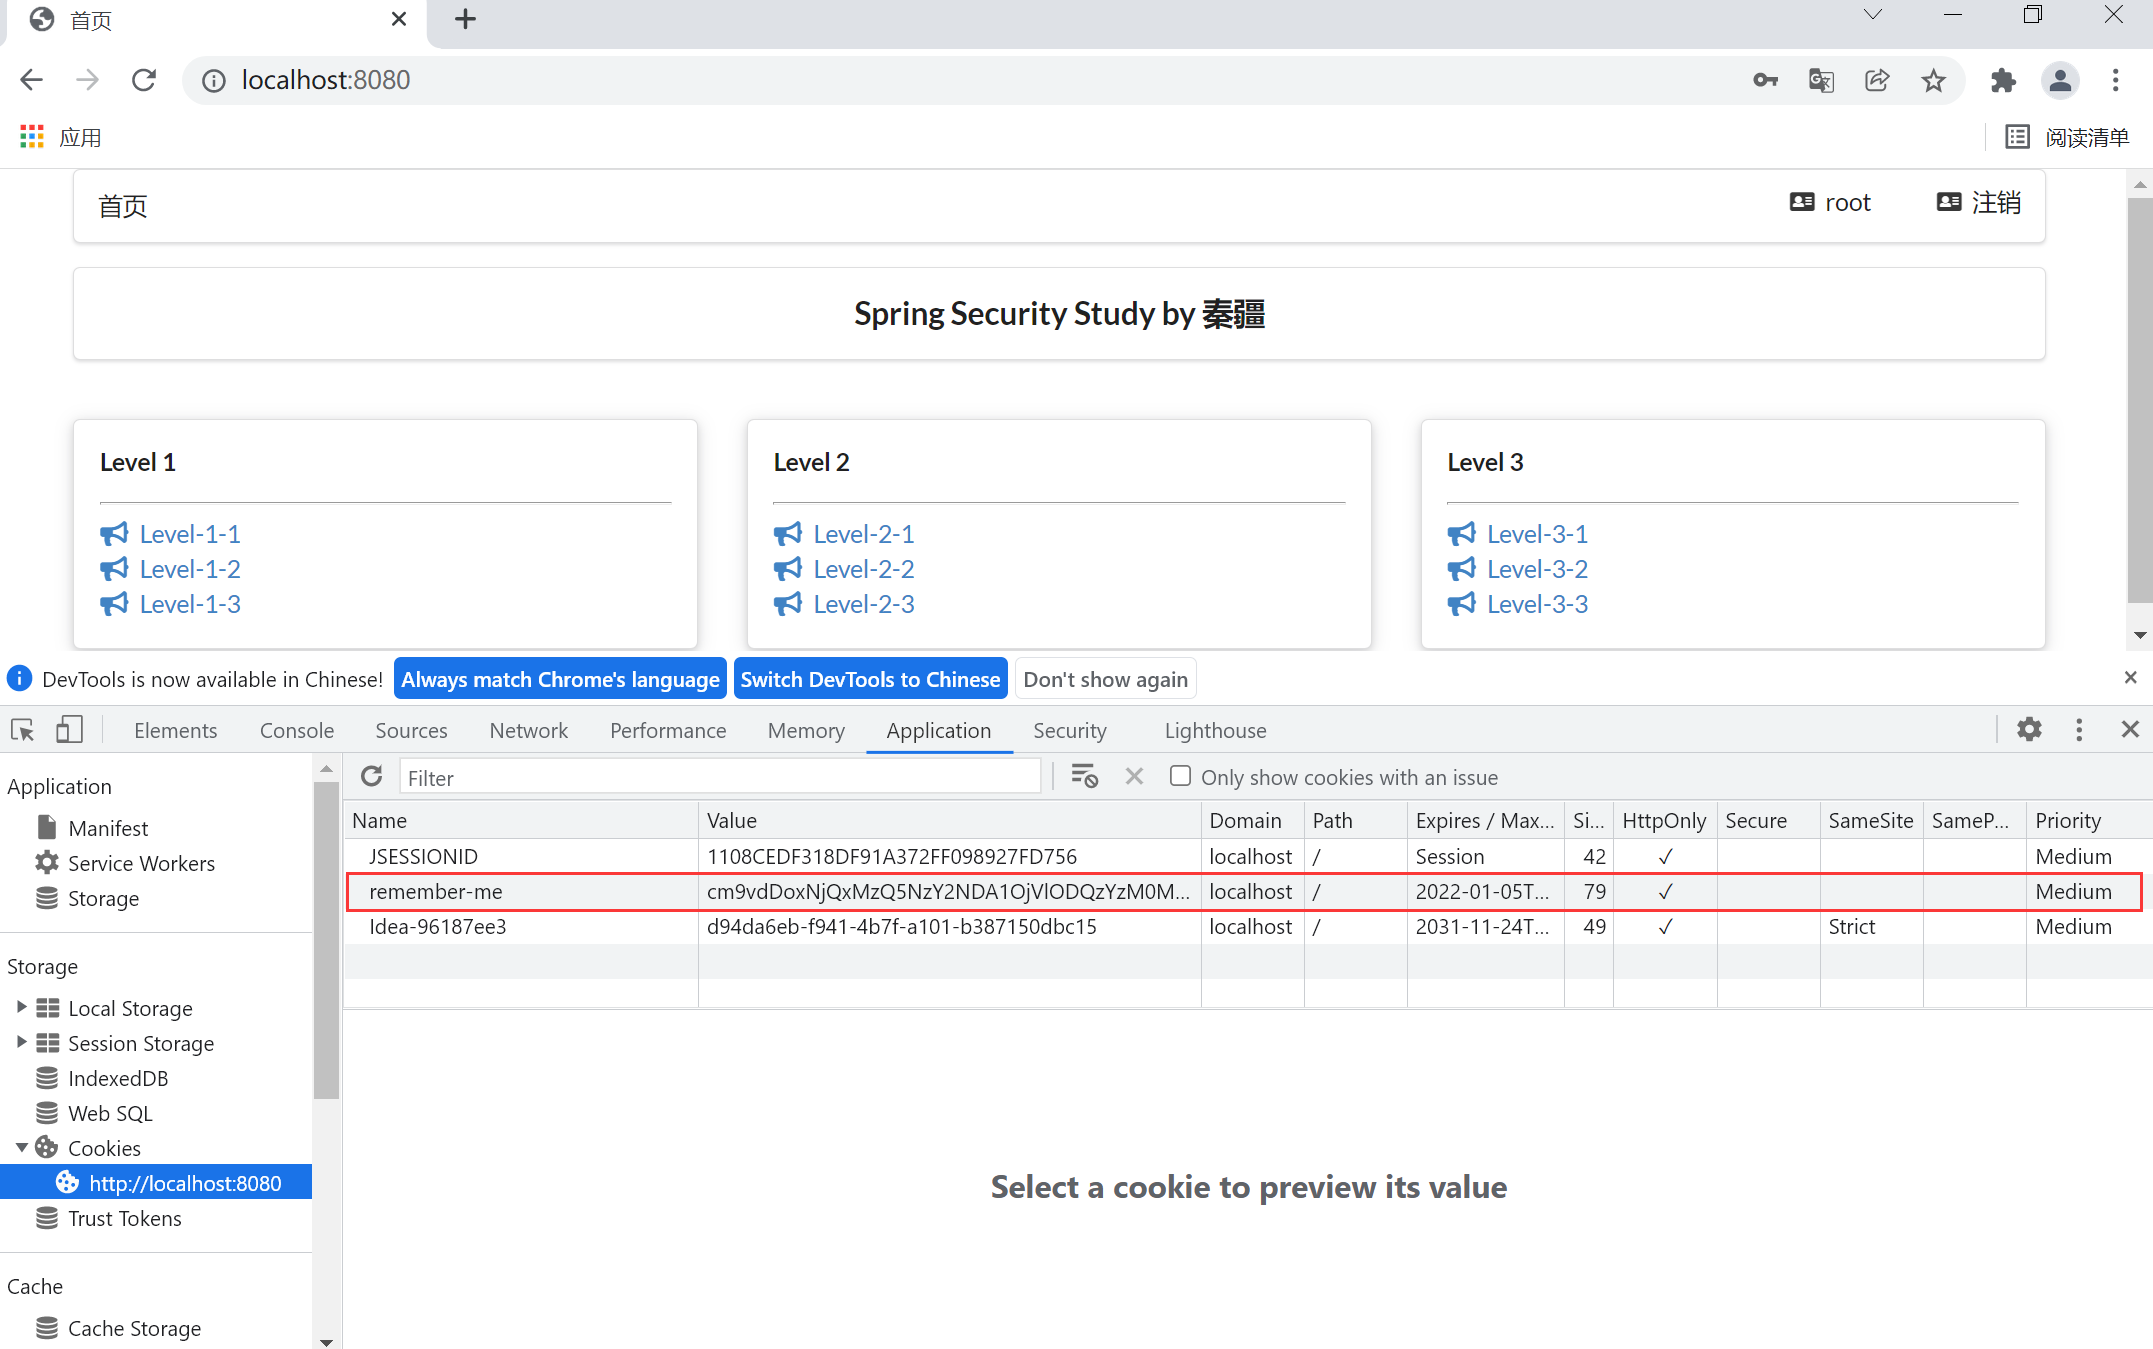
点击注销,SpringSecurity会自动删除该Cookie信息
定制登录页
以上代码中看到的登录页面都是SpringSecurity默认提供的登录页面,用户也可以自定义自己的登录界面,步骤如下:
类
RouterController中写登录Controller@RequestMapping("/toLogin") public String toLogin() { return "views/login"; }configure(HttpSecurity http)方法中自定义登录页//http.formLogin(); //自定义登录页面 http.formLogin().loginPage("/toLogin");前端首页
index.html跳转到登录页面的路由指向自己定义的登录URL<!--未登录, 显示登录按钮--> <div sec:authorize="!isAuthenticated()"> <a class="item" th:href="@{/toLogin}"> <i class="address card icon"></i> 登录 </a> </div>之后进行测试,跳转到自定义的登录界面:

点击上图自定义登录界面的提交按钮,跳转到首页界面,需要修改
login.html登录form表单的th:action<form th:action="@{/toLogin}" method="post"> <div class="field"> <label>Username</label> <div class="ui left icon input"> <input type="text" placeholder="Username" name="username"> <i class="user icon"></i> </div> </div> ... </form>th:action中的URL和configure(HttpSecurity http)配置的自定义登录页面URL需一致,都为/toLogin。此时,登录成功,便可以自动跳转到首页。注意:在
th:action中并没有配置跳转到首页index.html的controller,确可以完成跳转功能,也可以手动写一个controller实现跳转,login.html登录form表单的th:action如下:<form th:action="@{/login}" method="post"> <div class="field"> <label>Username</label> <div class="ui left icon input"> <input type="text" placeholder="Username" name="username"> <i class="user icon"></i> </div> </div> ... </form>对应类
RouterController添加controller如下:@RequestMapping("/login") public String login() { return "redirect:/index.html"; }也可以不写上面的
controller, 在configure(HttpSecurity http)配置的自定义登录页面代码// 自定义登录页面 http.formLogin().loginPage("/toLogin").loginProcessingUrl("/login");login.html登录form表单提交到后台的用户名和密码需要进行权限认证,formLogin()方法对用户名和密码进行验证,查看其代码,可知默认接收的用户名和密码参数名为username和passwordhttp.authorizeRequests().antMatchers("/**").hasRole("USER").and().formLogin() .usernameParameter("username") // default is username .passwordParameter("password") // default is password如果对登录
form表单用户名name属性和密码name属性进行修改:<form th:action="@{/toLogin}" method="post"> <div class="field"> <label>Username</label> <div class="ui left icon input"> <input type="text" placeholder="Username" name="uname"> <i class="user icon"></i> </div> </div> <div class="field"> <label>Password</label> <div class="ui left icon input"> <input type="password" name="pwd"> <i class="lock icon"></i> </div> </div> <input type="submit" class="ui blue submit button"/> </form>后台代码便接收不到提交的用户名和密码了,可以手动设置后台接收的用户名和参数名字:
// 自定义登录页面
http.formLogin().loginPage("/toLogin").usernameParameter("uname").passwordParameter("pwd");
在自定义登录页面再次实现
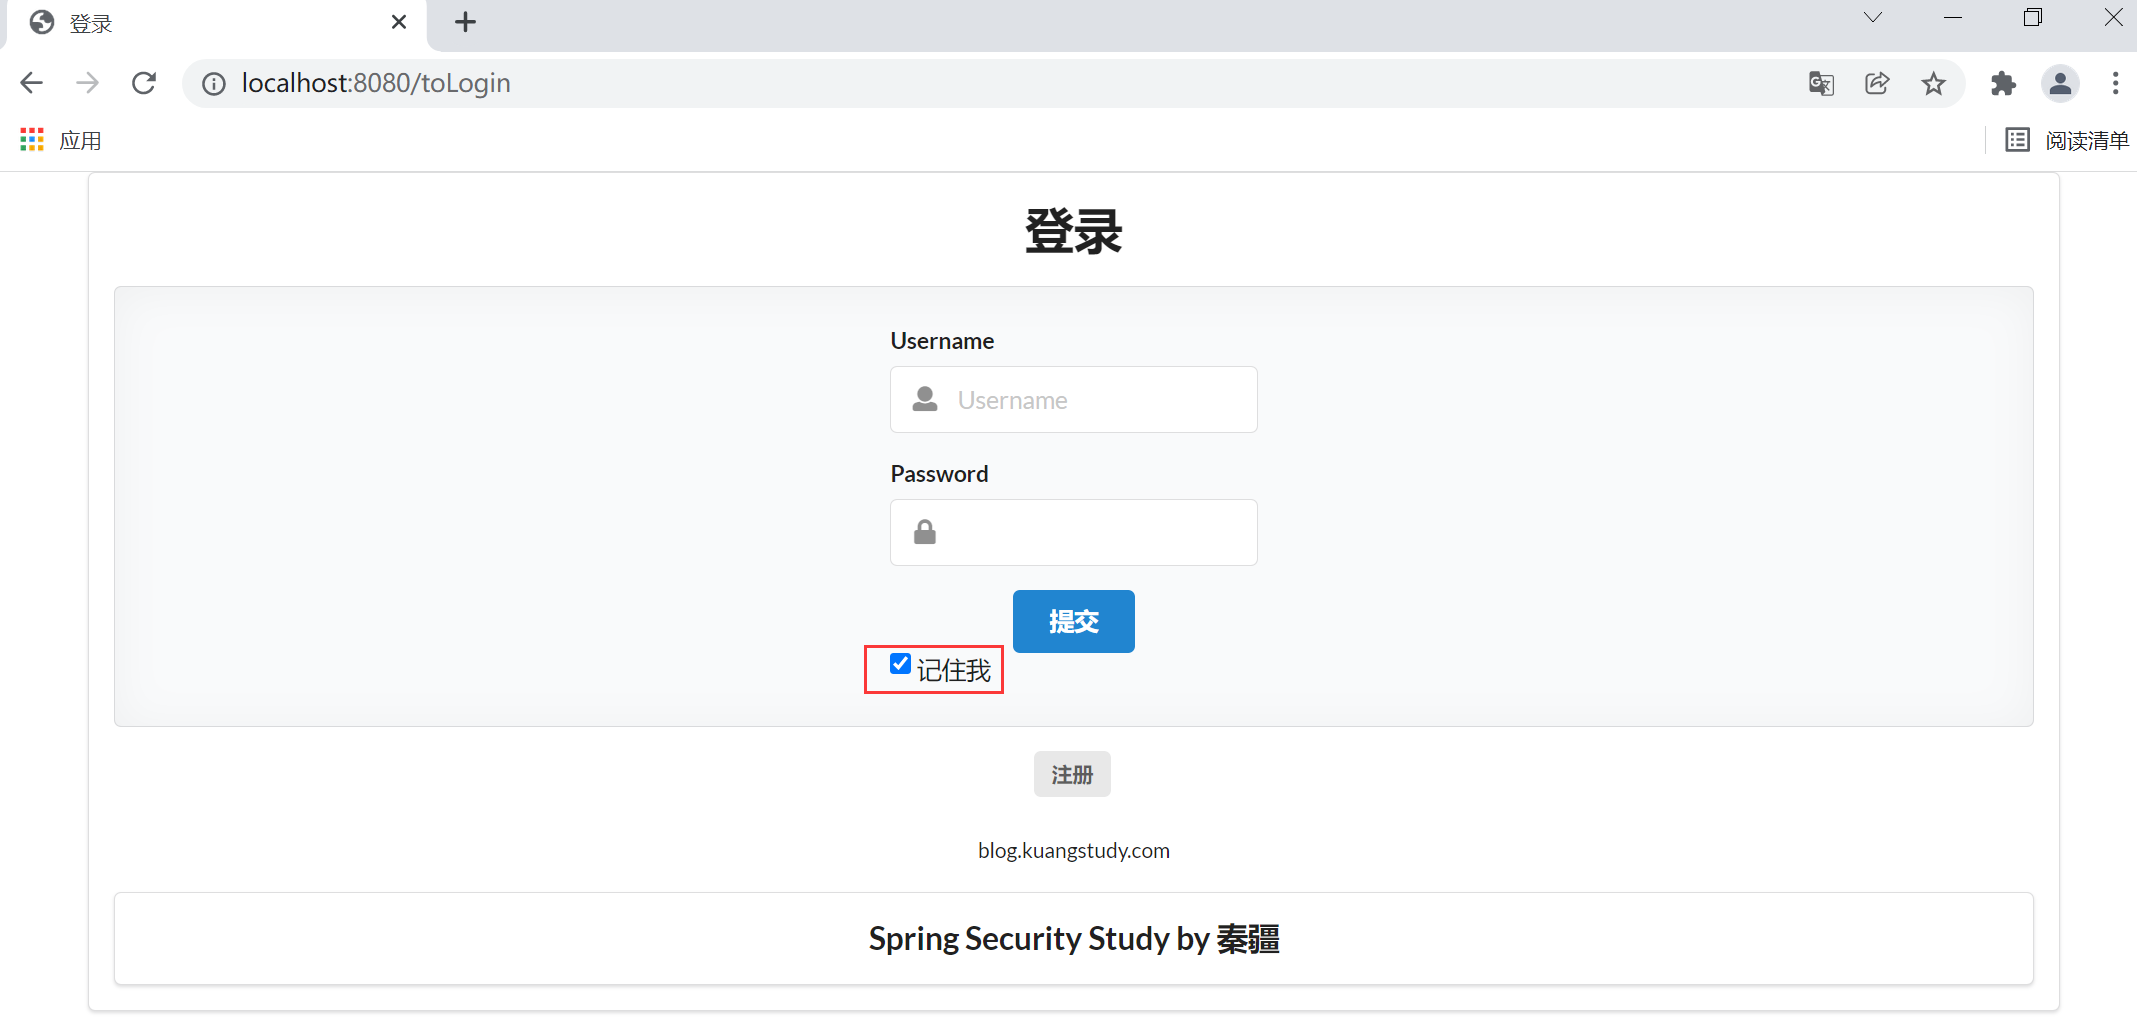
记住我功能:在登陆页添加记住我的多选框:
<div class="field">
    <input type="checkbox" name="remember"> 记住我
</div>
后端
configure(HttpSecurity http)验证处理//定制记住我的参数 http.rememberMe().rememberMeParameter("remember");name属性要和rememberMeParameter()参数一样,测试如下: